I've finally done it! I've learned how to use a drill and I have officially upholstered my first piece of furniture that now sits at the end of my bed.
It wasn't actually that difficult of a project, but lets just pretend it was. I struggled a little getting the drill bit stuck in batting and breaking some bits on a few of my first tries, but here it is. I'm pretty proud.

It was a pretty easy process. We went to the hardware store and had our wood cut into the dimensions we would need for a bench. I used 3/4 inch plywood for this project. I ended up making a pretty sturdy bench that was 19" x 48".

At the beginning, I may have thrown a fit a couple of times because I kept breaking bits. My wonderful husband politely told me that I was drilling them in at an angle. Who knew you had to drill straight into the wood?

We assembled the box, and I used 3" foam and batting to cover it. I then made a slipcover for the box with 3 yds of fabric and finished it off by stapling it around the bottom.
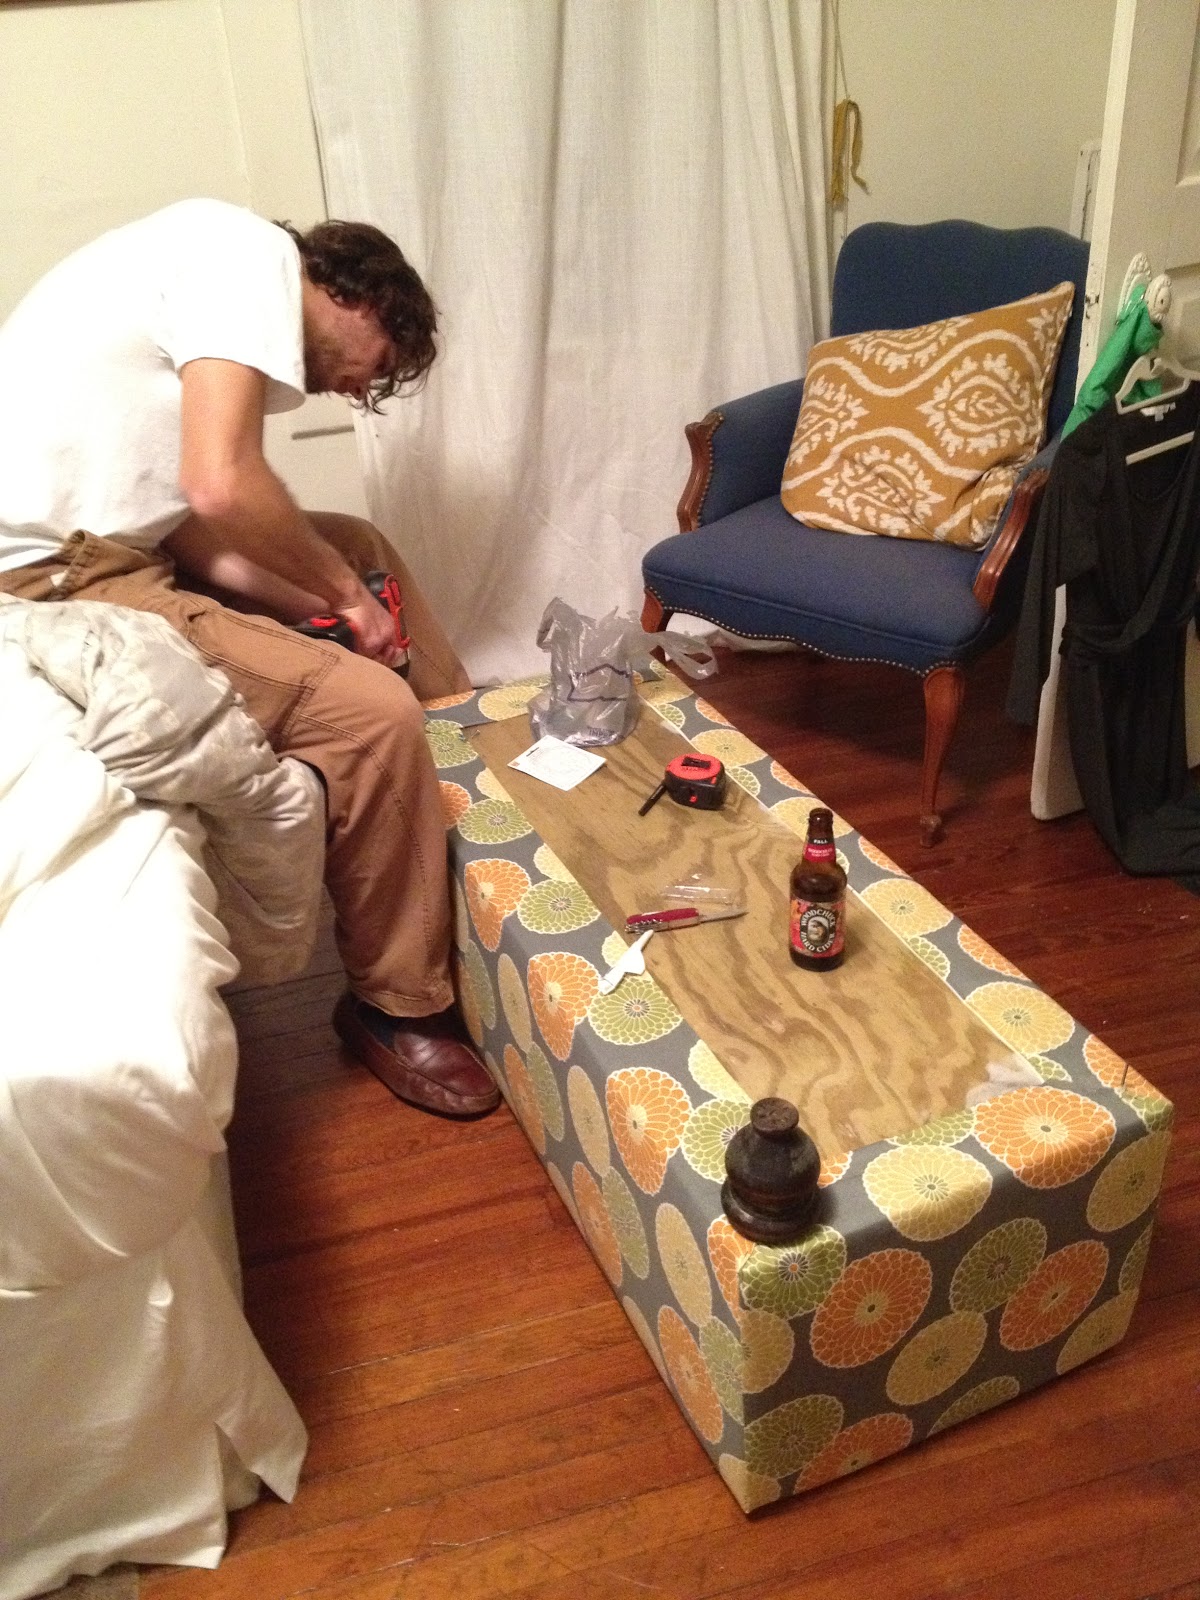
The final step was attaching wooden legs that I had stained a deep walnut color to the bottom of the bench.


I'd like to add some nail head at the bottom of the bench, but for now I'm just enjoying my new piece of furniture!
No comments:
Post a Comment