Showing posts with label diy. Show all posts

Monday, January 14, 2013

Valentines project

Over the weekend I was in a crafting mood and still feeling the love, so I decided to make some felt hearts that I could put on display throughout the house. 

The process was the same as the last heart diy I talked about a week ago. This time I just added a string that I could hang the hearts from and finished off the edge with some pinking sheers. 

 I think these little guys are so cute. I can't wait to make some more. 

I also think the hearts would make perfect wedding favors with some initials hand stitched in the center.

If you don't feel like making these for yourselves, they are now for sale in my etsy shop!

Wednesday, January 9, 2013

Is it too early to talk about another holiday?

I had a little time on my hands last night while the husband was rock climbing so I decided to finally finish taking down all of the Christmas decorations and began preparing for the next holiday: VALENTINES DAY.


While I have never been the type of person to celebrate valentines day, this year seams different. I'm excited to celebrate with my husband and start some new traditions. Now I just have to figure out what those traditions are!

 I decided to dust off my scissors and thread and whip up a little something. I made all of the hearts (pictured above and below) by hand with scraps of fabric I had around the house and some batting. They were so easy to make! If you decide to make a couple, just cut out the heart shapes (2 per heart), sew around the edges, stuff and finish it off. It's supposed to look homemade so don't worry if the stitching isn't perfect.


Now a little dish of the hearts greets everyone who comes to our door!

Then I got out the scrapbook paper and a stapler and whipped up some heart garland. 


 Our headboard needs a little help, I know. It was covered with greens over Christmas and I loved it, but now it looks so sparse. I need to get my creative juices flowing to come up with some new ideas. 


Please ignore the horrible lighting. That's what happens when you take pictures at 8 p.m. indoors. 

I'm hoping to add some more decorations over the next couple weeks, but I'm happy with everything so far. Decorating without spending money always puts me in a good mood (and my husband likes it too). Everything was so easy and gets me excited for what is to come!


Wednesday, November 21, 2012

Life lately

Life lately in pictures...


Such a morning person! He loves when I take pictures of him before 8 a.m.


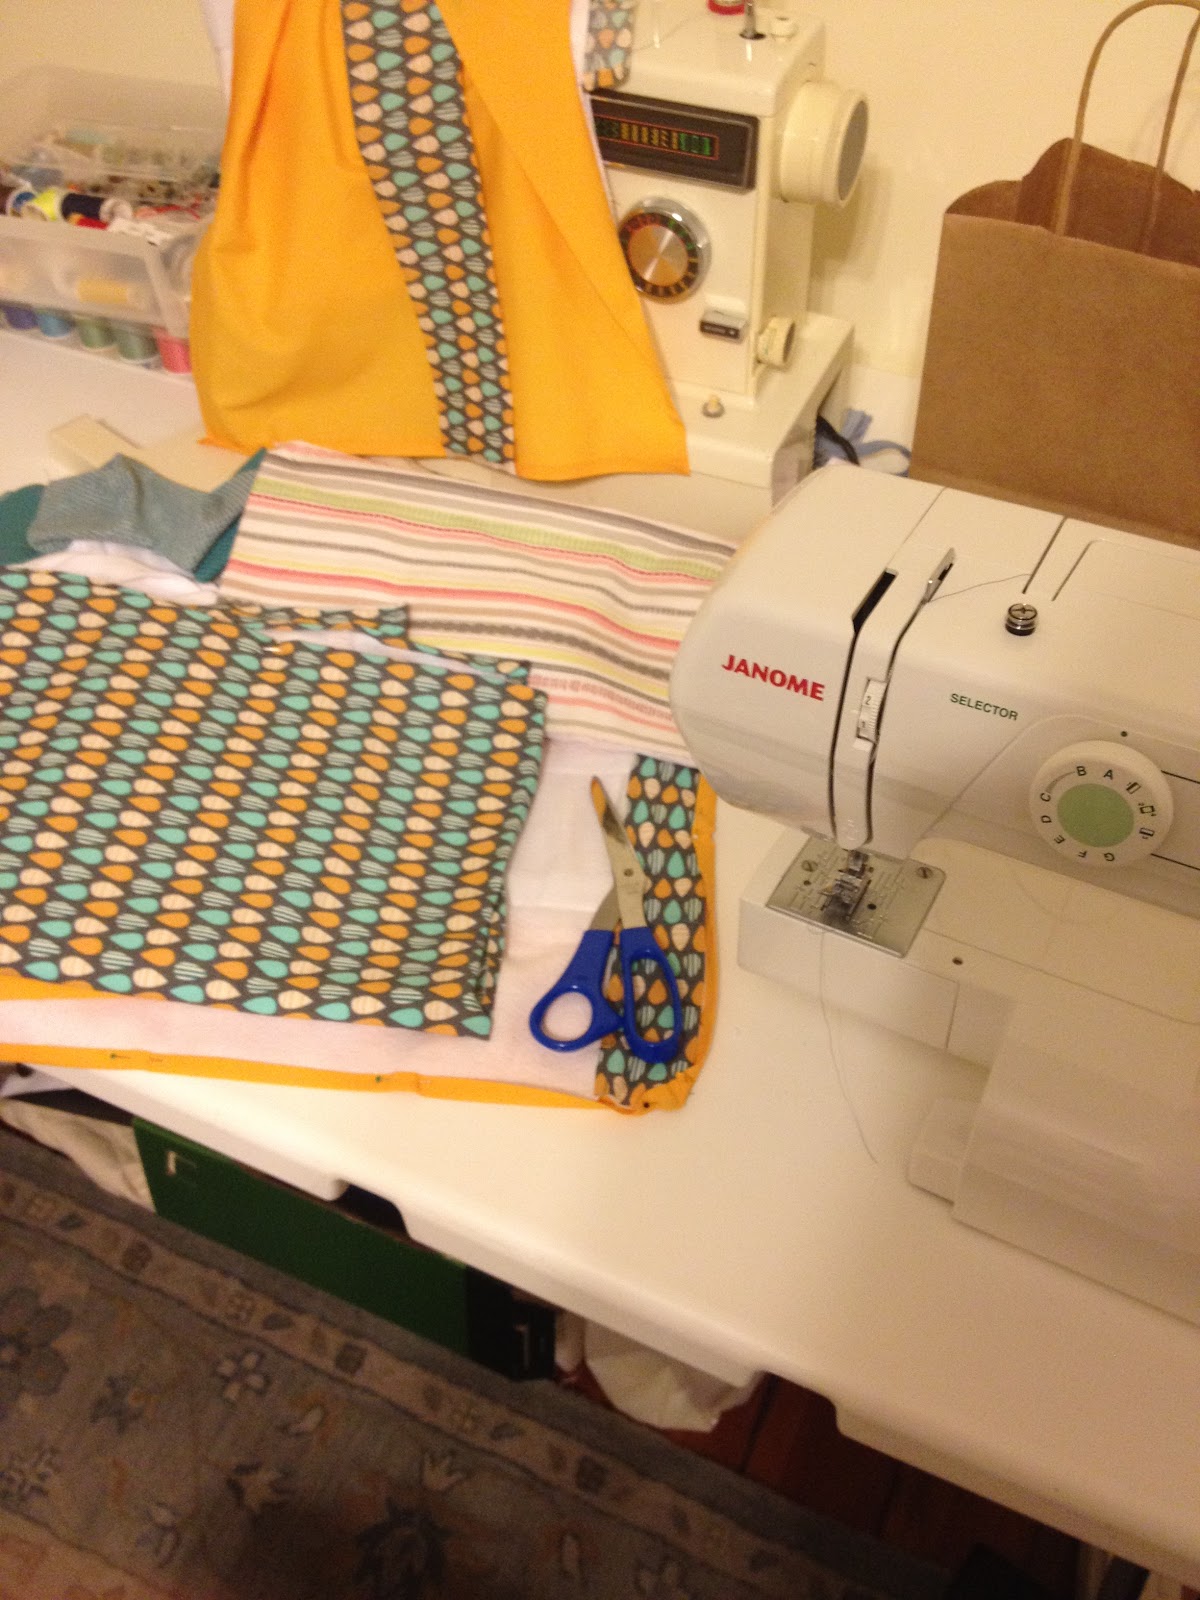
More burp cloths... I am in such a crafting mood!


Dunkin holiday cups! I love having a Dunking Donuts in Lynchburg, it just may not be the best thing for my waste line.


The cutest mini cup I have ever seen.


A little baby onesie I made for our campus pastor's brand new son. 

Monday, November 19, 2012

Over the weekend

This weekend was filled with lots of food, family, and crafts!


Ben and I started out the weekend with dinner at WaterStone Pizza in downtown Lynchburg, Virginia. While no pizza in Virginia is as good as New York style pizza, WaterStone is a close second.  It was delicious as always, and the bonus was seeing my long lost sister working hard at the front desk. (Kari, I need more of you in my life!)


Saturday started off early in the morning at 6:30 a.m. since Ben and I couldn't sleep any longer. We had some coffee, went over to my parents, and enjoyed the morning. The rest of the day was filled with movies in bed, Chinese food, and crafting!


 Sunday morning we attended church and worked in the nursery. I am positive that our nursery is filled with the cutest kinds on this planet.


I spent the rest of the afternoon picking out paint colors at my parent's new house that is currently under renovation and...more crafting. 


What a great weekend! Lots of rest and relaxation before the upcoming holiday. 

Wednesday, November 14, 2012

DIY bench

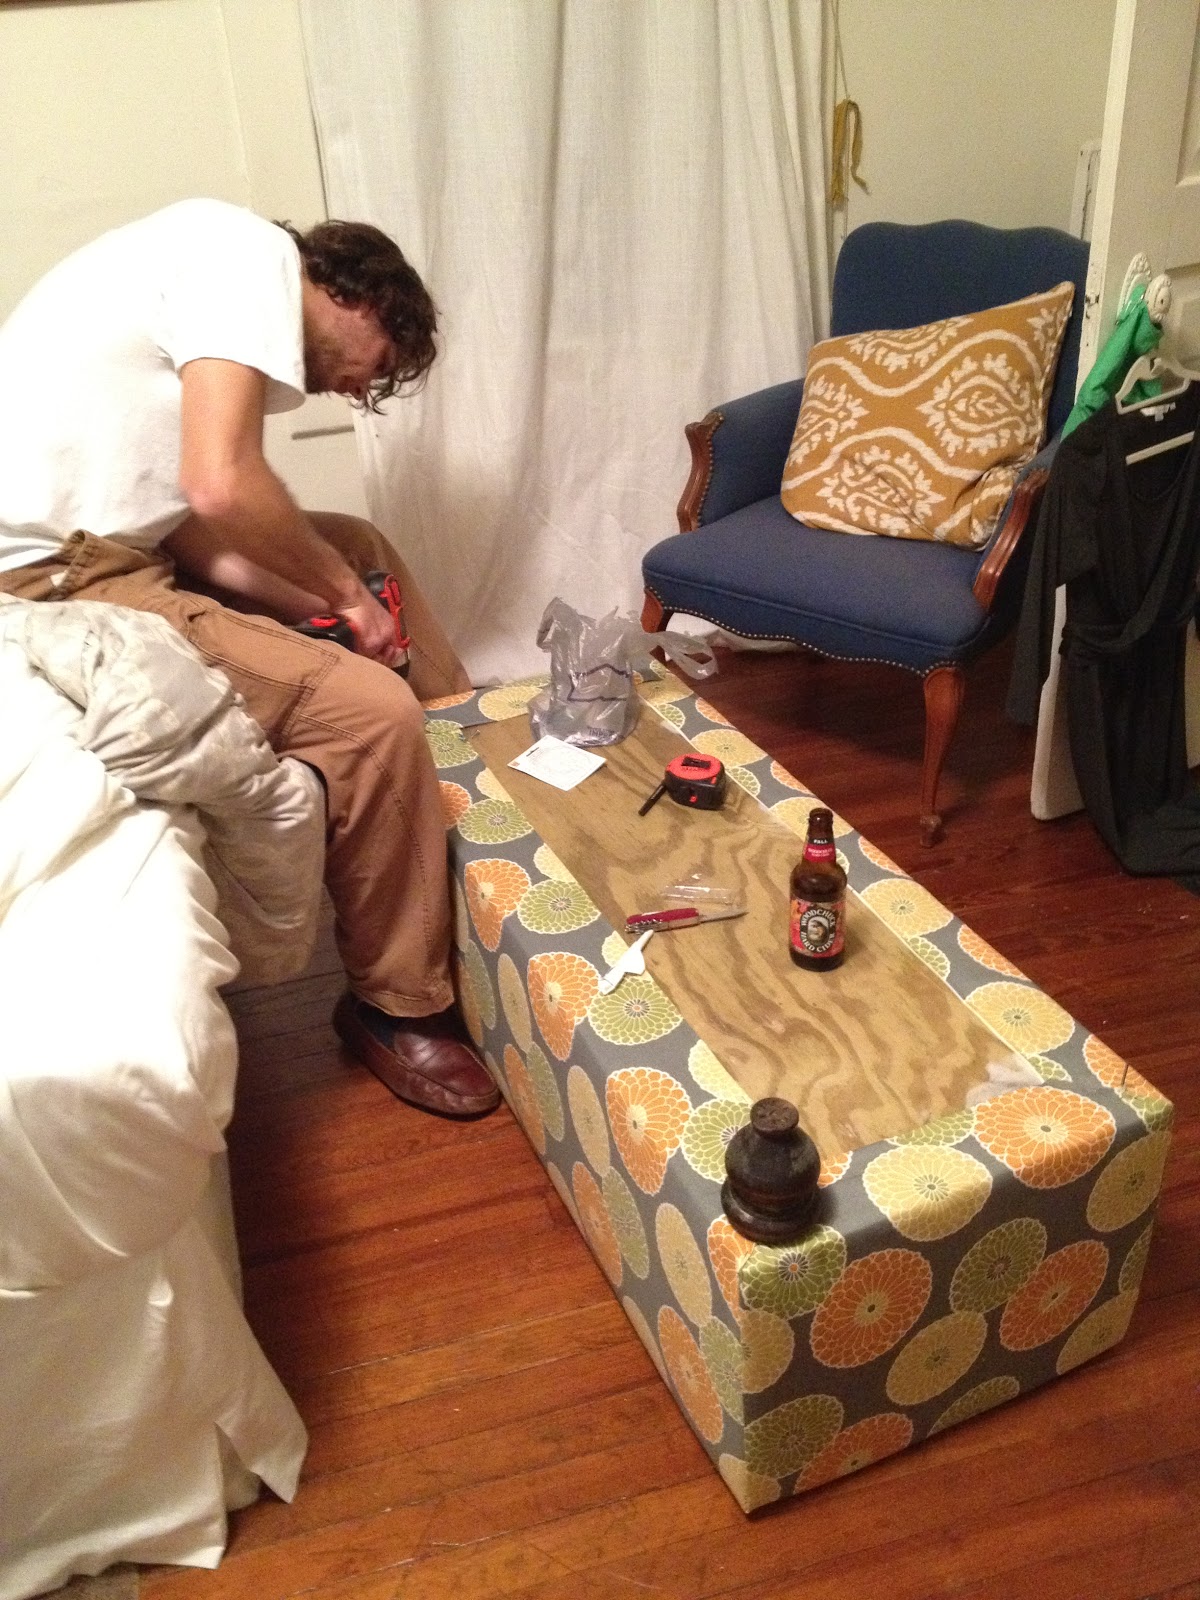
I've finally done it! I've learned how to use a drill and I have officially upholstered my first piece of furniture that now sits at the end of my bed. 

It wasn't actually that difficult of a project, but lets just pretend it was. I struggled a little getting the drill bit stuck in batting and breaking some bits on a few of my first tries, but here it is. I'm pretty proud.


It was a pretty easy process. We went to the hardware store and had our wood cut into the dimensions we would need for a bench. I used 3/4 inch plywood for this project. I ended up making a pretty sturdy bench that was 19" x 48". 


At the beginning, I may have thrown a fit a couple of times because I kept breaking bits. My wonderful husband politely told me that I was drilling them in at an angle. Who knew you had to drill straight into the wood?


We assembled the box, and I used 3" foam and batting to cover it. I then made a slipcover for the box with 3 yds of fabric and finished it off by stapling it around the bottom.


The final step was attaching wooden legs that I had stained a deep walnut color to the bottom of the bench. 


I'd like to add some nail head at the bottom of the bench, but for now I'm just enjoying my new piece of furniture!

Tuesday, November 13, 2012

Etsy sale!


I am so happy to announce my first Etsy sale! I haven't had a lot of time to put into my page, but with this first sale, I am hoping to get more items up in the shop soon!

You can see all of my current listings at the themspiveys shop!